it's about time to pack the car again! thankfully this trip i am not driving alone with the boys. they did amazing last trip. our drive back to SC from PA went from a 9 hr drive to an almost 12 hr drive. still they did great. i couldn't wait to get out of the car.
this trip, my hubby get to go to a conference in orlando and the boys and i are tagging along. we get to have fun all day while he works all day. way to take one for the team, honey! the boys have no idea that we are going to disney.
the travel trays to PA held up great. d pulled his text off before we even left the driveway i think. but lesson learned, it was too thin, it didn't have enough surface tension so it didn't stay put. they used their trays for their games, iPad, and snacks. this trip, the "pockets" of the trays will be filled with all kinds of fun disney related things.

so this blog is to show the change over of the locations. my main focus is how to save the old design with the transfer tape from expressions vinyl. i get to team up with them again on this project. (BTW, they have gotten some new items products, like holographic heat transfer vinyl. i ordered some this week and i can't wait to play with it when it arrives.)
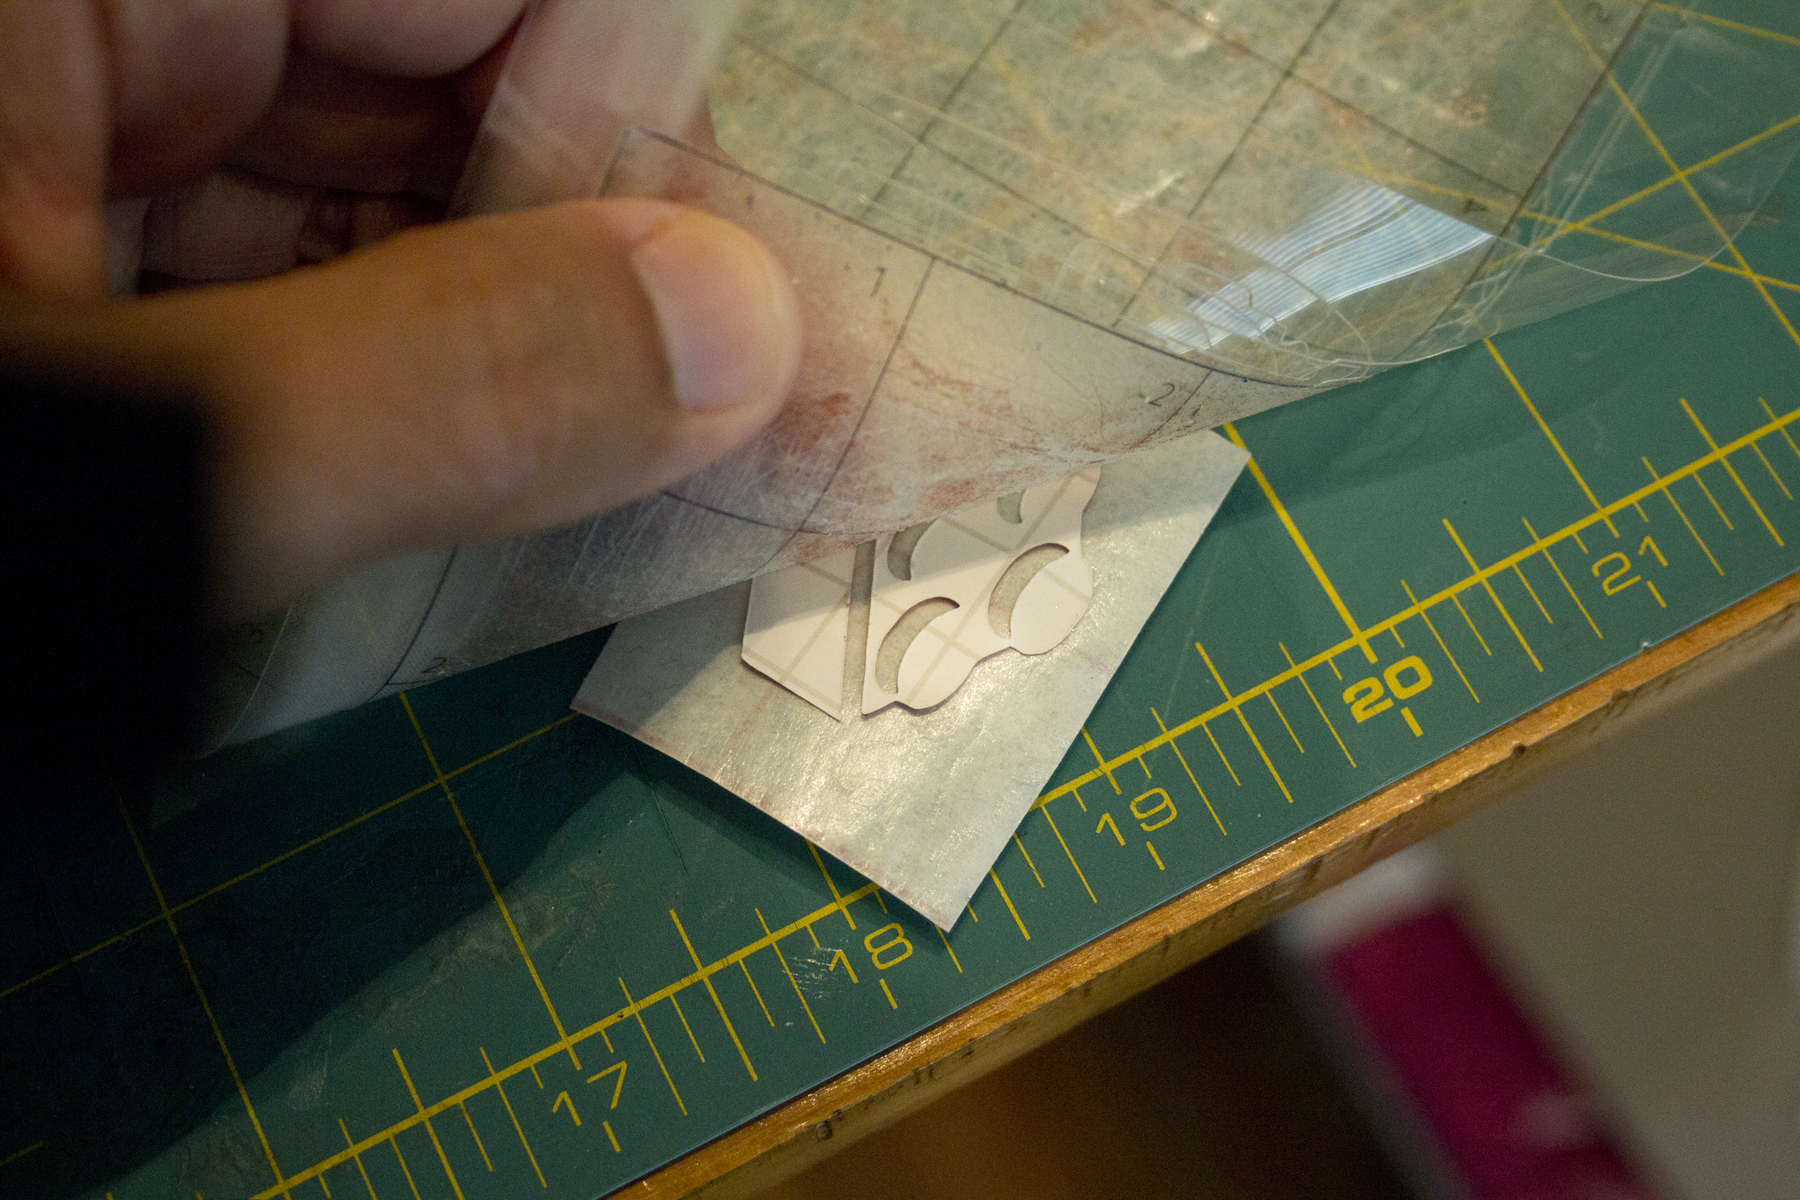
i started by cutting the transfer tape larger than my PA map. i peeled it apart. the sticky side has the grid on it and the back is slick. don't through away your backing paper.

once apart, cover your original artwork and burnish the tape down, this will have it stick to all the little items and put them up.

then pick a side to start working from. i chose to save the type side for last. the reason for that is because the typography has less surface space is more likely to rip, it's the weaker side of the design so with more of the design pulled up on the tape from the other direction it will help the typography stay intact. you may want to use some tools for the pulling up. i used my fingernails, a brayer and a small crafting spatula.

in the beginning of the peel up you may have to help the design stick to the tape, once you get working you won't have to do that anymore.

and then you get to the other side and keep peeling.

in the image above, you can see the peel off is not perfect but this is what i really enjoy about working with vinyl. it's pretty forgiving. so i pulled up the corner and straightened them out. also you can see the counters to the letterforms didn't pull up either. so using my tools i pulled them up and flipped them upside down and placed them down on the tape.

* please note, what appears to be wrinkles in the design really is not. when you pull the tape off it's backing it wrinkles and when your design is then places on it, the lighting makes it look like the wrinkles are on your design. it's not.

once i have it all peeled off, smoothed out, counter letterform replace, i smooth it down on the backing paper of the transfer tape. you can see that the corners of the tape peel up. i used a little bit of scotch tape to keep it all together. i store mine in a flat file with something heavier on top of it.
ok, moving on… the florida state design. i am not going to go into a huge amount of production detail on this one because i did that in the original PA state design. you can go back and reference that post if you need a refresher. the steps are all pretty much the same until we get to the popcorn icon.

cut the silhouette out of florida on the silhouette cameo.

marked the capital.
then i start making my icons, we are going to see the mouse, of course, sea world, and legoland. my boys don't necessarily know the logos for any of the places we plan to visit. they do know the icons that i created as those places though.

in the creation of the lego, i used a positive/negative effect and because of that design used the transfer tape to keep all the pieces together. once it's cut, i flip the cutting mat upside down to help peel it off onto the transfer tape. then i remove the backing paper, flip the icon to the correct orientation and then place it on the design. once placed, i burnish it in permanent place.


the next icon i worked on was the popcorn. popcorn? you may ask. well, it's only the best popcorn in the world! i was introduced to it by my friends, tracy and carla on our first trip down to disneyworld for our race. it's peterbrooke chocolate covered popcorn! i believe the first one we hit is in jacksonville, FL. so we will be stopping! POPCORN! yes, my boys know it because every time since that first race trip we have stopped and i have brought some home for them.
the popcorn icon needed to be outlined, against the yellow tray with a yellow vinyl it would have lacked detail. i first drew the popcorn with motion lines and the outline. i could have then divided the colors and cut the yellow but i decided that i could cut it by hand using the outline as the guide.


after this step i place the outline popcorn down on the yellow vinyl and cut around the outline with sharp scissors. then i placed it all down on the design.

after the popcorn, i created the killer whale to represent sea world. i used the same method as i did for the popcorn. first i cut the black shapes and placed them on white vinyl then freehand cut the white vinyl to finish the shape of the whale.


i finished up the design with the word "florida" and some waves, to help the boys see where we are going geographically. i made the word much bolder in this design hoping that it won't be peeled off again.


here it is, the final tray! now to fill it up with goodies. i found adorable mickey mouse cups for the cup holders, all kinds of disney activity books for the pockets and they each get a pair of mickey mouse crocs.
thanks for reading! have a magical day!
*i will be adding a few more images to this post as i get everything finished but i made some great new clothes for the boys, avengers and star wars as well as some new mickey items. don't forget to check out my etsy store. you can also get these tray designs there.