time to break out the trays one more time for the summer. this time we are headed for the BEACH. of all the trips we have done this summer, this is the one that i am most looking forward to. the beach is where i can truly relax. it's not a very crowded beach, i can sit in a chair under the umbrella, read and still be able to keep an eye on the boys. the boys love the pool at the cond. it has a lazy river and a sinking submarine that is in the shallow section. each annual trip to the beach as the boys get bigger, gets better, things become even more relaxed and we have no timetable or plans ahead of time. we wing it. litchfield, sc here we come!
the trays have held up well with all the travel. after the FL trip they came home with crayon on them. after i peeled back the design i was them off with a magic eraser. once clean we were ready to roll again.


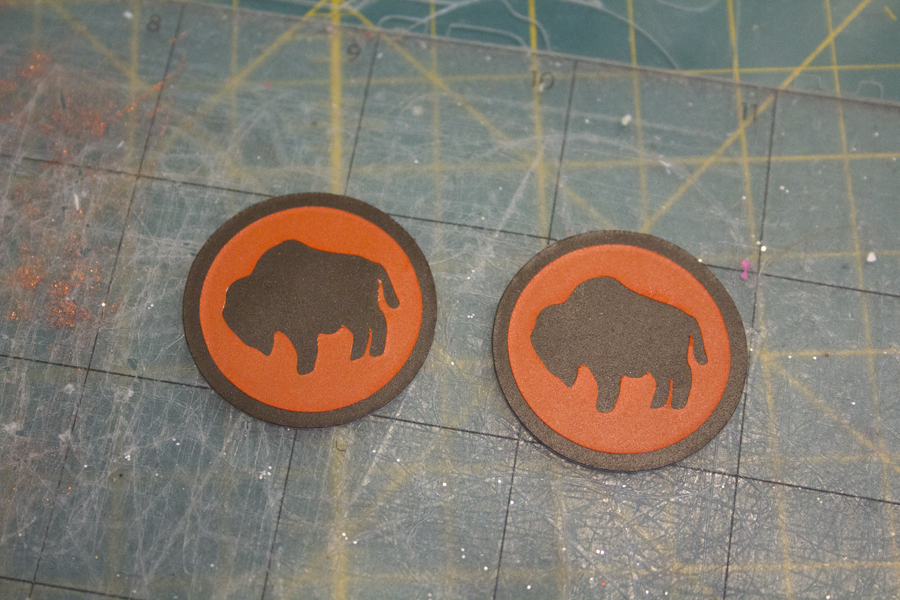
this sc design is the last one that i am partnering with expressions vinyl on. i have had so much fun working with them over the summer. they have amazing customer service and a fantastic product. i have been nothing but happy working with them. you can see some other designs that i created with their products on my etsy site.
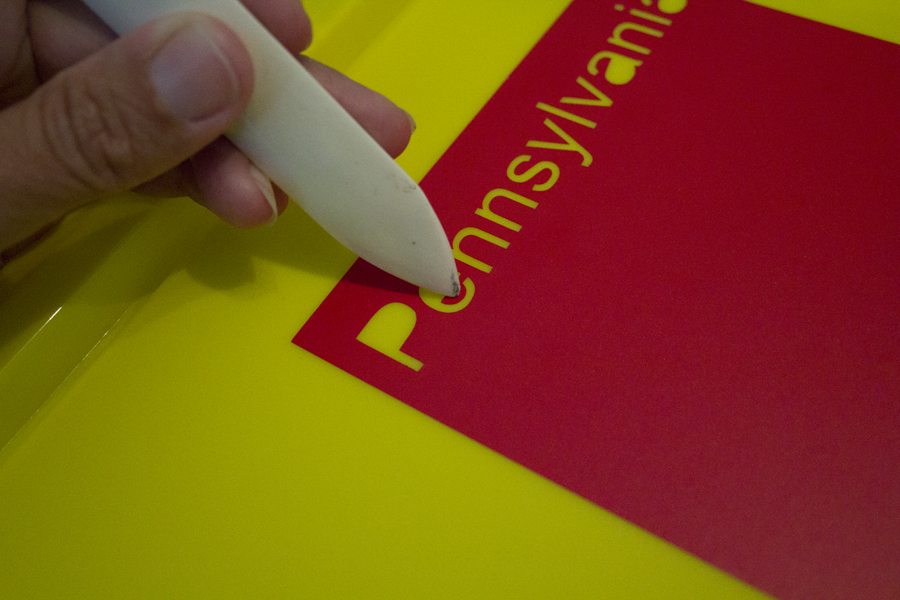
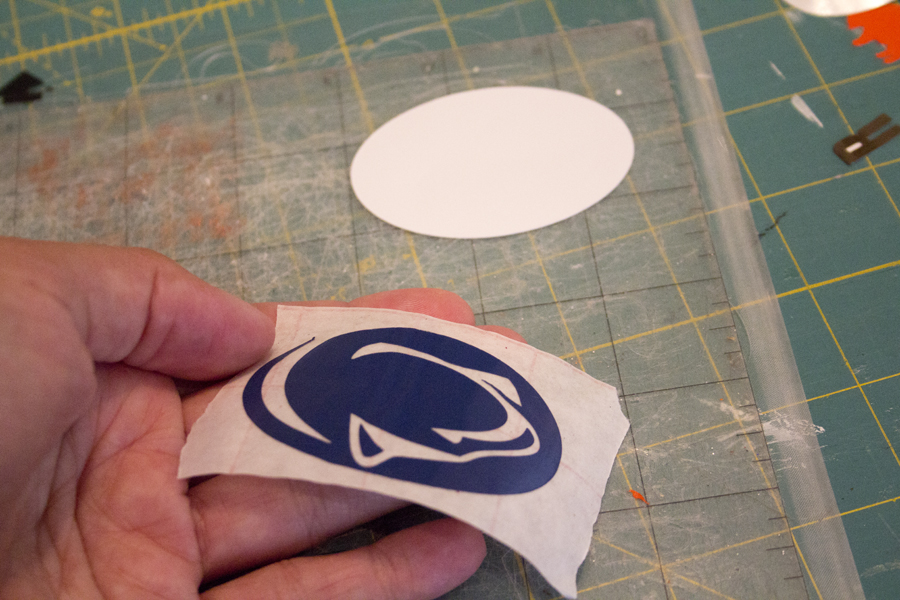
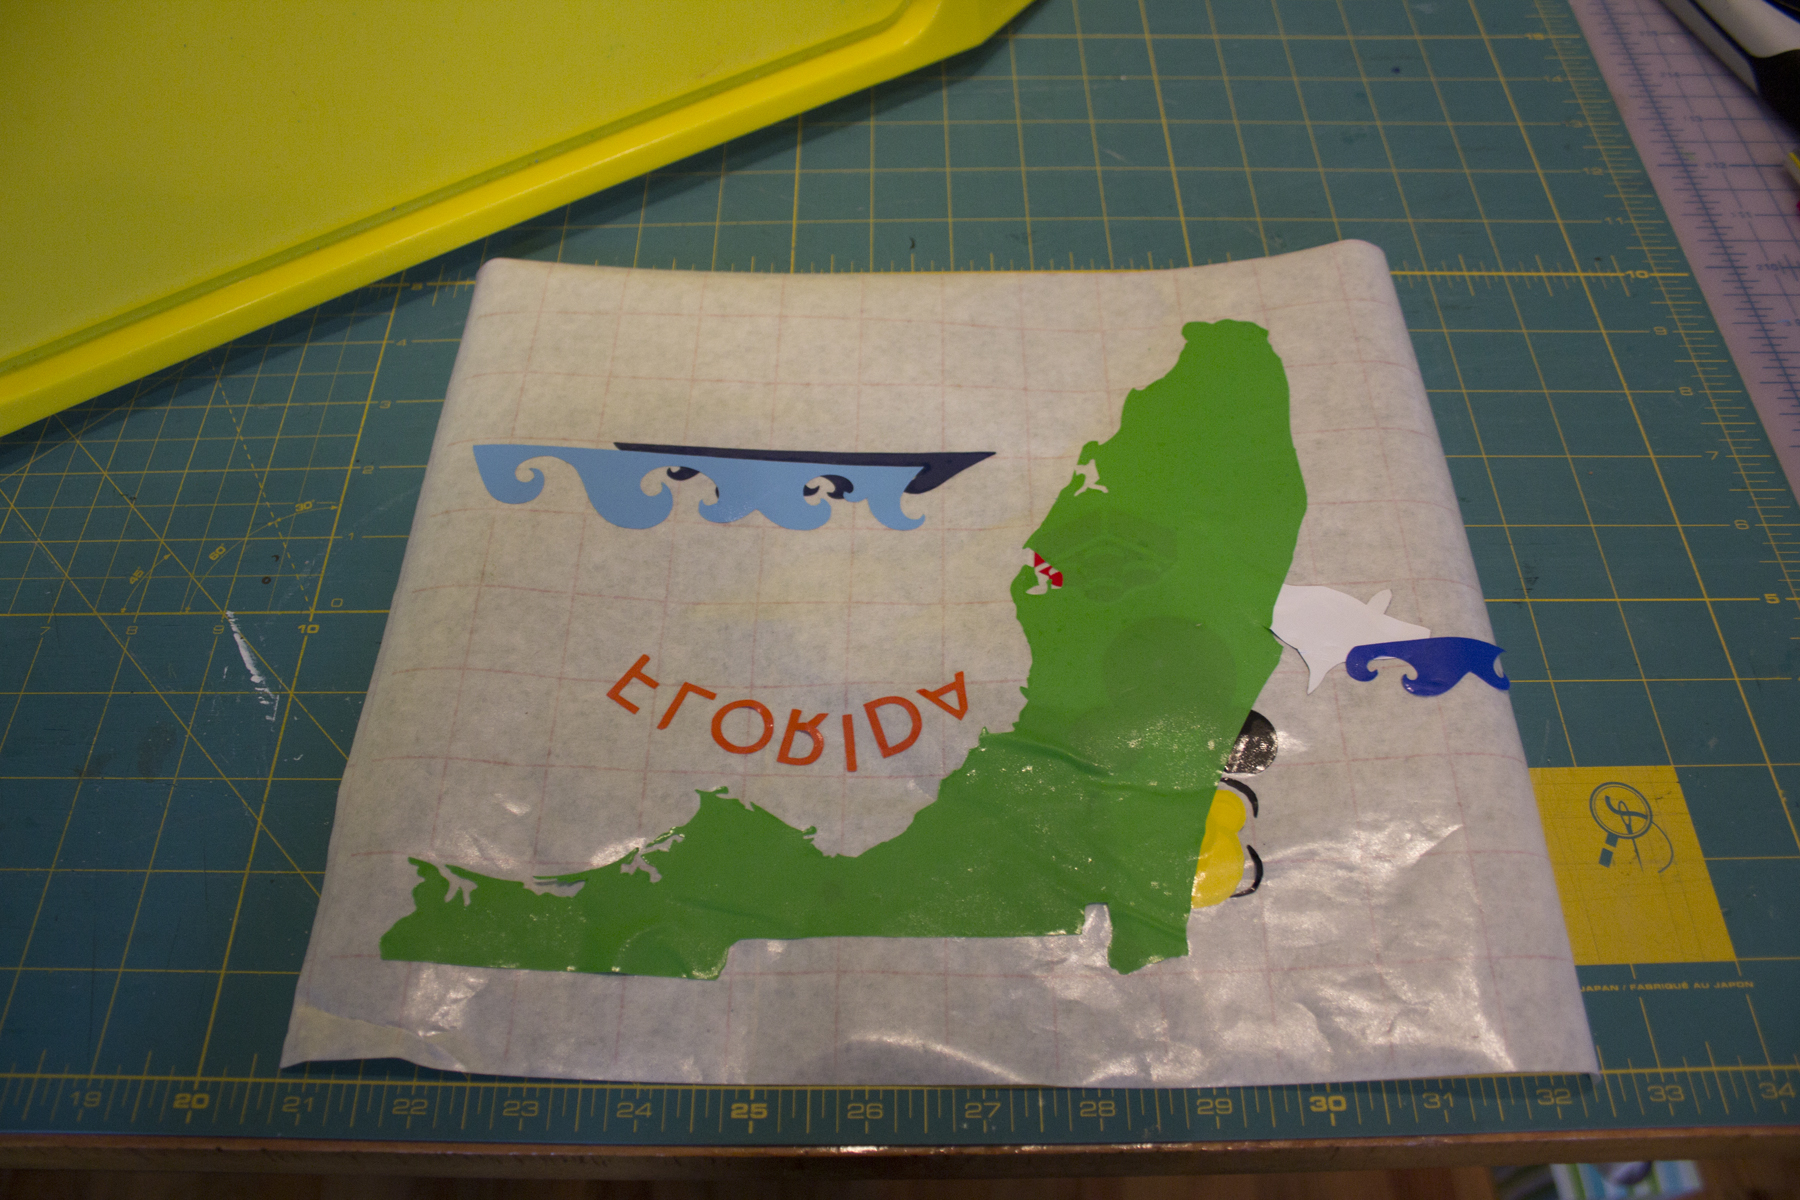
we actually are going back to FL and disney in the fall, so i wanted to make sure that i was able to save the FL design. using the transfer tape i was able to peel back the design and save it. the first thing you do is cover the design with the transfer tape, burnish it down and slow peel it back. you have to use some tools or your fingernail to get it started. once it clings onto the tape you are in business.


work slowly and from a strong edge
cover with the back of the transfer tape and store. i tape the edges so that it stays flat.

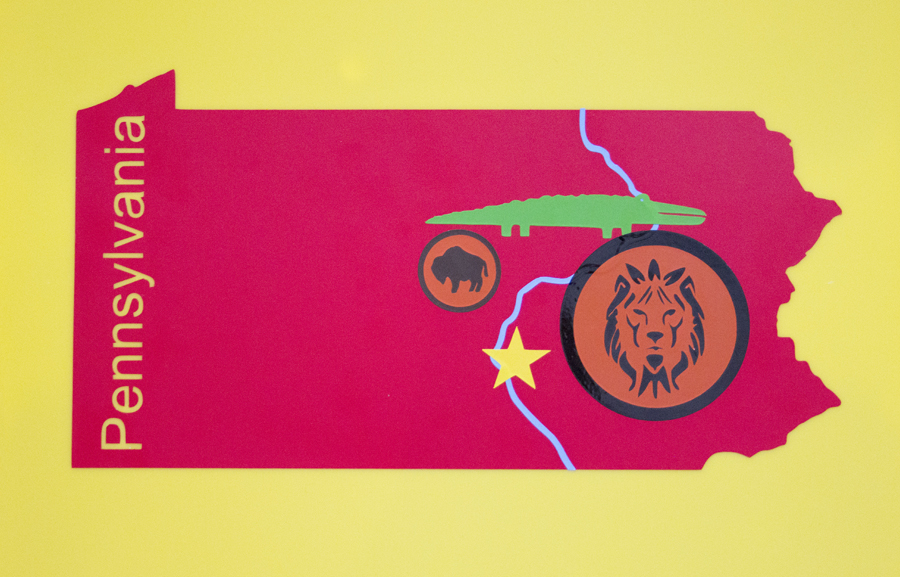
after the design is off, i cleaned the tray, wiped it dry and was ready for the new design. because we are staying in SC, i decided not to carry on the state design, instead i went with icons of all the things that we would do and see while we were at the beach. it's a good idea to save your working files in the silhouette studio application, that way you aren't redrawing similar things. for example, i used the alligator and house that made for the PA tray again in this design.
i started with the house as the hub of the design.

remember to use the transfer tape when you have multiple pieces.

after the house which i reused from the PA tray, i got to work on the second most important feature, the submarine at the pool. the boys absolutely love to play there. it's a yellow sub with a fun color scheme. although, it's yellow in the design i used green so that it would stand out again the yellow tray. here's a little insight on how i make the icons. i first start off drawing in illustrator.

once i have it drawn out the way i like it, i "save for web or device" this gives you the option then to save it as a .png file which is what the silhouette studio application wants.

once saved as the .pgn you can then open it in silhouette, trace it, size it, and cut it. pretty simple after you figure out all the steps. no one ever taught me how to do any of this, it's all been trial and error.
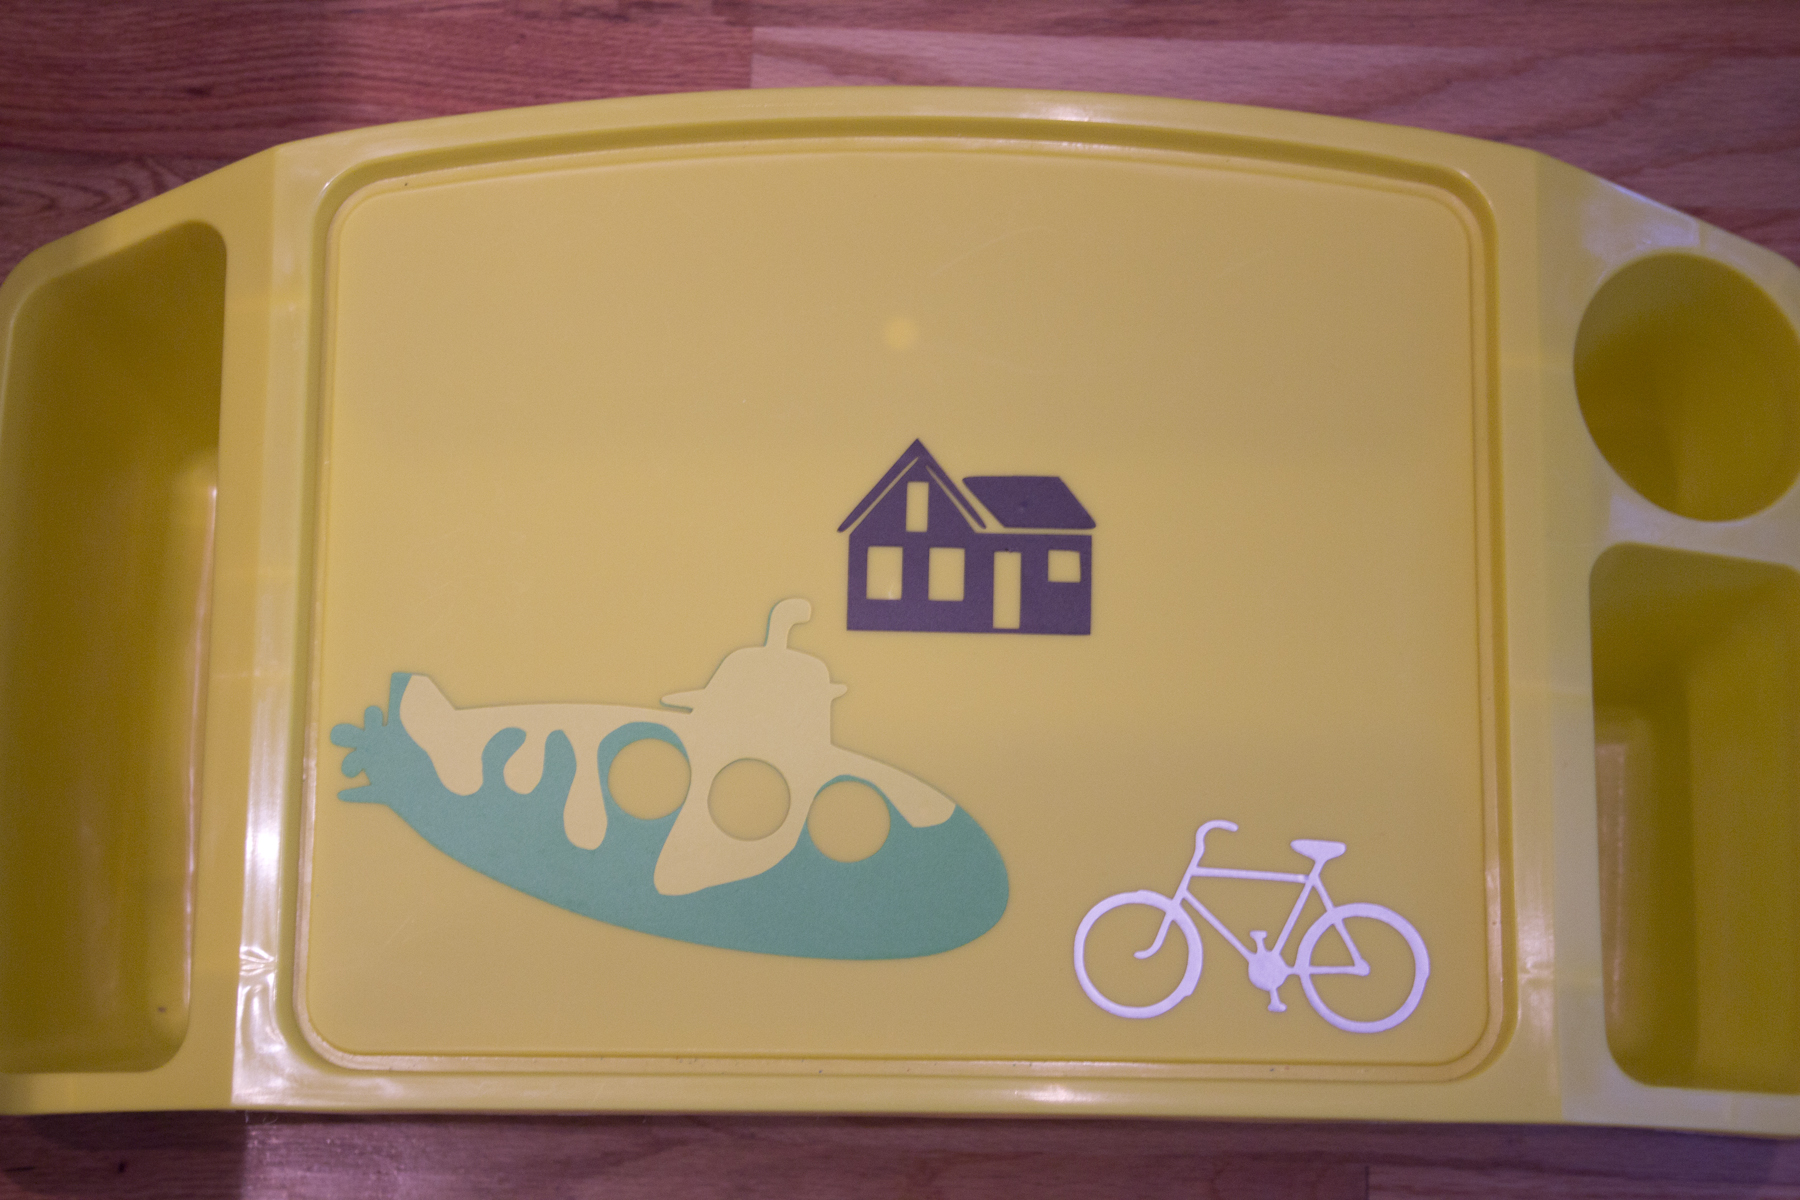
next i worked on the bike, it's definitely a favorite activity on the beach trip. we ride down to huntington state park and see all the birds, alligators, the historical house and beaches. it's so amazing. with the bike icon i used silver (metallic). it's one of my favorites. gives a design some pop.
next up was a stylized golf ball. this is something new on our trip. we played last year but with the boys another year older it will be even better. i used all circles to create this. so easy to do.

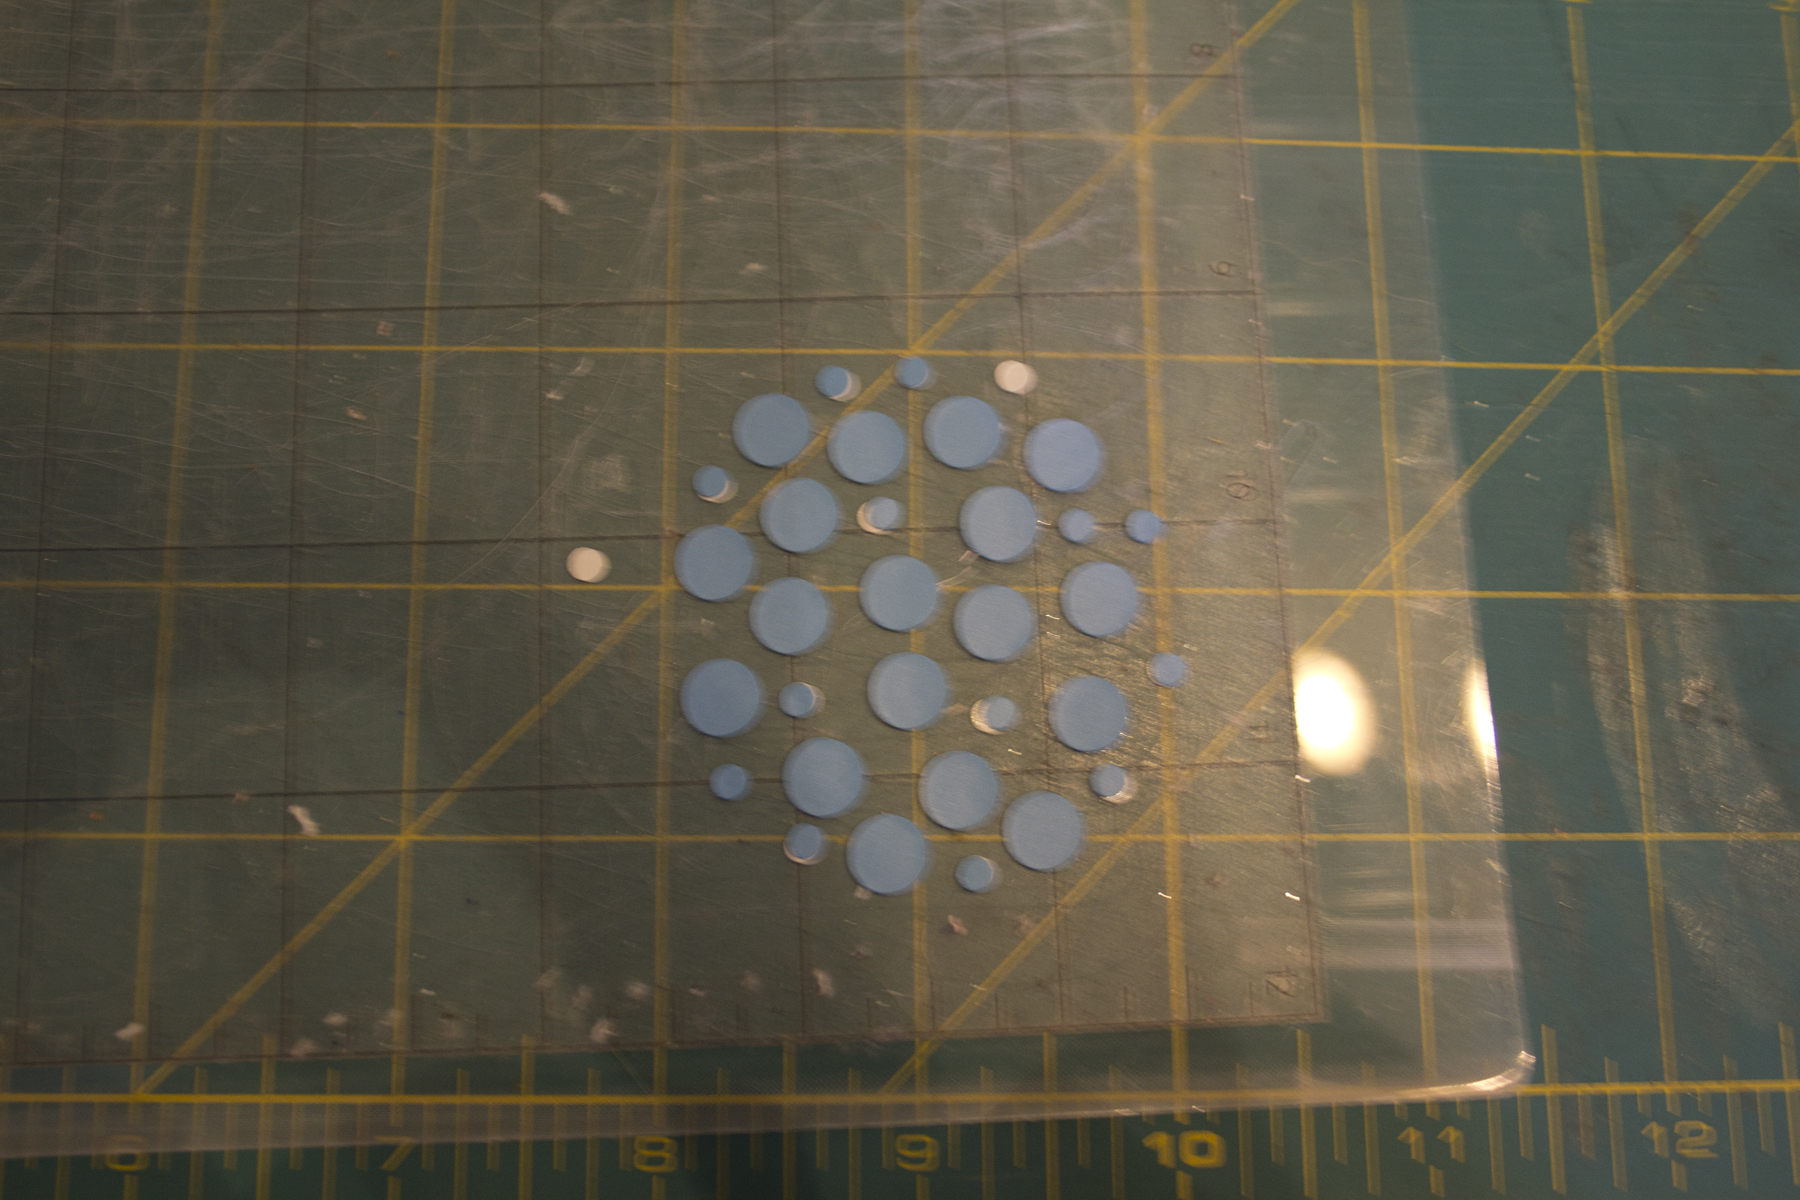

perhaps a bit difficult to see but all the small dots are held into place with the transfer tape, lay that on top to of the larger circle and you have a golfball.

then i added the red bucket and shovel. it worked out well since the negative space has a yellow background, it looks like sand.
i then recycled my alligator from the PA trip and added that on.

this year we are doing something new. we are going on a dolphin watch. this makes me a little nervous. the boys are so little compared to the great big ocean. but they are super excited so i am not going to let my fears scare them. there is also no guarantee on the sightings. this company, Blue Wave Adventures do not feed the dolphins or chase them in any way. so seeing them seems that much more special. kudos to them for understand that wild animals should stay wild! even when it might mean unsatisfied customers.
i added a dolphin and some recycled waves from the FL tray design. that completed the design for the beach trip.

it's a fun tray, something new and different to entertain the boys on this trip. i also filled the pockets with beach related color pages and word finds.
i hope that you have enjoyed the summer tray series. as i head back to school myself, work here usually slows down but i hope to keep sharing projects with you throughout the year.