hi y'all (i'll get that last southern draw in before i head north).
i am so excited to announce that i am working with expressions vinyl on 4 projects this summer. 3 travel tray designs and a t-shirt design. today is the first installment and the first design of the travel tray to pennsylvania.
from south carolina, pennsylvania is an 8-9 hour drive, with a 4 and 6 year old it could seem more like 20. i am determined to entertain the boys on this trip since i will be driving.
in preparation, i made a fun game notebook, the hubby helped to make cool travel lego boxes and i designed these trays for holding all of the above plus having a surface to eat and color on.
ok let's get started. first, i work on a mac, i use adobe illustrator to create all the icons and i cut my vinyl on the silhouette cameo. the silhouette and the vinyl are all available at expressions vinyl. i use both inside and outside vinyl. outside vinyl, to me, feels heavier in weight and if often glossy where the indoor vinyl is more of a matte finish. i bought the plastic trays at hobby lobby and i know that michael's often carries them too.

because my boys are beginning readers i decided that icons would be the best way to show them where we would be traveling to on this trip to PA.
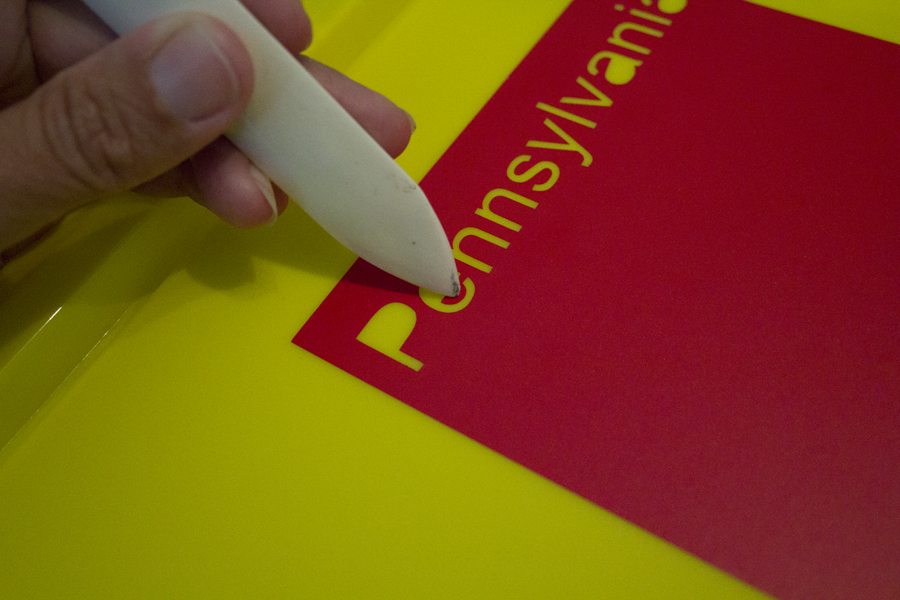
i first started by googling "silhouette of pennsylvania" to get an outline of the state. i brought that into illustrator, traced it and then saved my finished image as a .png file. that's what the silhouette studio application likes it's files to be. once that was finished i opened it in the silhouette studio software, traced it again and added the word pennsylvania down the side. i use the heat transfer flocked setting. although i was using indoor vinyl, the software suggested another setting but my personal preference is to have the vinyl and the backing be cut the whole way through.

once done i peel the backing off and apply the state to the tray surface. i line it up where i want to place it and start smoothing it down from the center out to avoid air bubbles. once in place i burnish it down with my hand and a bone scorer.
don't forget the counter forms in your letters.

next i started working on the icons. i worked on all of them in the same manner, drawing in illustrator, tracing in silhouette software, cutting them on the silhouette cameo, layering the object if needed and then placing them on the tray.
i traced the susquehanna river, cut that and placed it first.
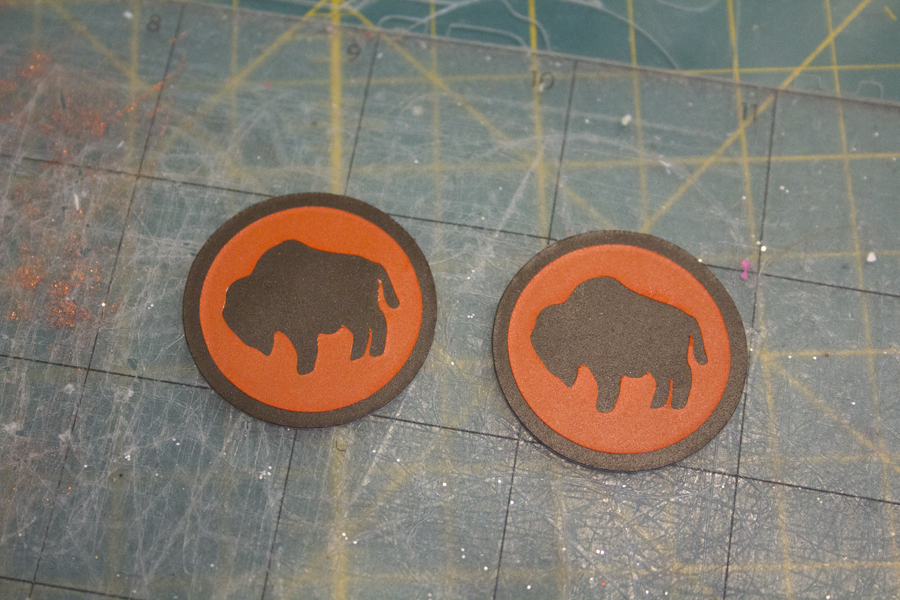
the first icon i created is for our trip to little buffalo state park. of course, the icon should be a "little buffalo." i choose to design it like a patch as it is a state park, it felt right. i used a circle and cut the buffalo out of the center and then layered it on top of the brown circle.

the next 2 icons that i created were not layered, they were single objects so they are drawn, traced, cut and placed. these icons were a star for the state capital and my hometown, harrisburg and an alligator for a day trip to reptileland

next i created an icon of a tiger for our visit to lake tobias wildlife park. this one was back to using layering affect. i first created the orange inner circle that had the tiger's face and cutting away the stripes so that the black would show through. on this one i used outdoor black vinyl. again, it's a bit glossy and i though the contrast would be a nice change.

i then layered in on top of the black and placed it on the tray. these are rough placement, i wanted to use size contrast and color contrast to keep the boys interested.
next stop hershey park. i haven't been there since i was probably in junior high. i am pretty excited about going back! for this icon, i used a hershey chocolate bar, did you know that the wrappers signify the type of chocolate? i used a brown indoor vinyl and layered that on top of the metallic silver vinyl. the very small letters that say "milk chocolate" cut fine but it was difficult to find the counters so i just left them out.

although we aren't making a trip to state college, aka PENN STATE, i put them on our map, my boys know my love for my alma mater and that's a huge reason why we love PA. someday soon we will get to take them there.
for this icon i wanted to show you the steps to layering an object. there are many personal styles to layering vinyl. i sometimes use transfer paper and sometime i don't feel it's needed. i use to mostly when i have lined up type and i don't want my baseline to shift or have to place letter by letter. i also use it when i have small pieces that i don't want to lose. i used it for this icon because the oval must line up. i find it easy to see through the transfer paper and also it's more surface space to hold on to.
first i cut the blue nittany lion out.

took away all the counter form. and cover it will transfer paper. transfer paper has lines printed on it to help you align your projects.
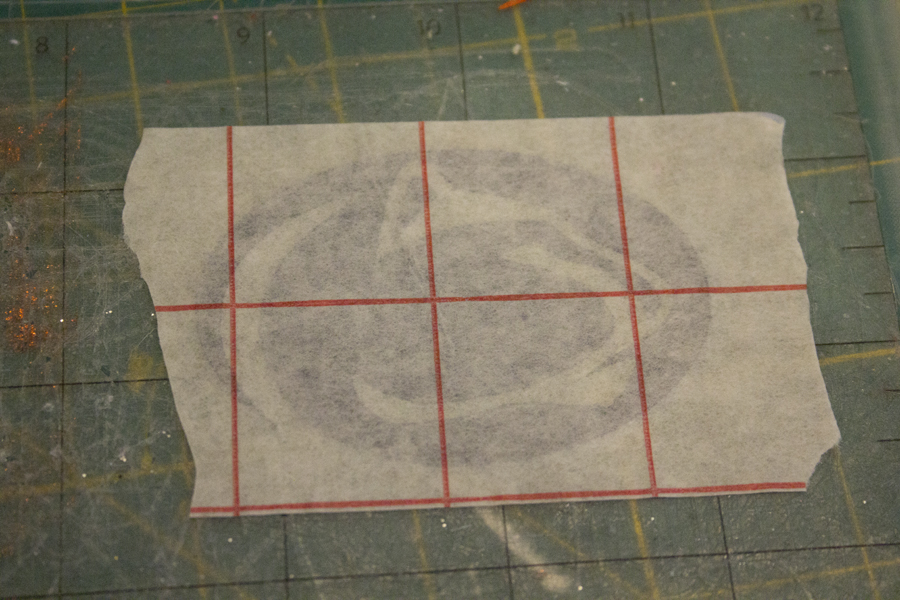
i then flip the mat over and pull the vinyl off up side down to help it move over to the transfer paper.
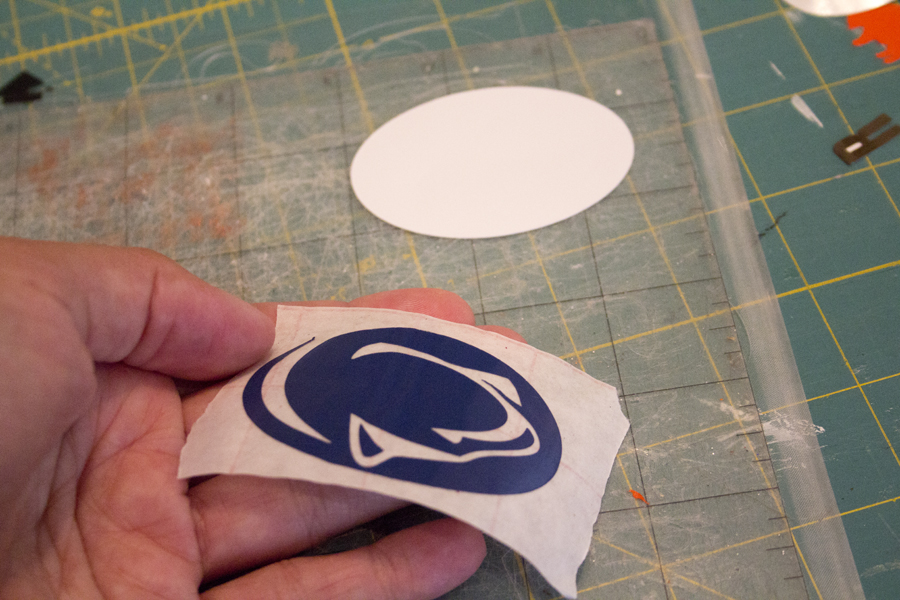
next i cut the white ovals. inverted the blue part of the logo over the white oval and burnished it into place.


lastly, you take the backing off the white oval and place it on the tray then burnish it down and remove the transfer paper (also referred to as transfer tape).

at this point, i had covered all of our major stops with icons. but i wanted to also represent that we will be visiting my dad, sister and aunt on this trip. i made an icon of a very simple house and cut them in their respective colors. i also made them very small to help with the size contrast.
i also created a cow icon, we aren't specifically stopping to see any cows but we can't make a journey to PA without seeing cows. it's placement is also close to my husband's family farm. however, we aren't stopping there and they raise beef cattle not dairy. instead of cutting the cow's spots on the silhouette i cut them by hand. that's a great thing about vinyl you can use it in so many ways.
the last step was to add a little bit of fun type. i chose to use some handwritten type by ali edwards. she has a collection called i heart travel phrases. it can be purchases at designer digitals. i used the phrase, let's explore.
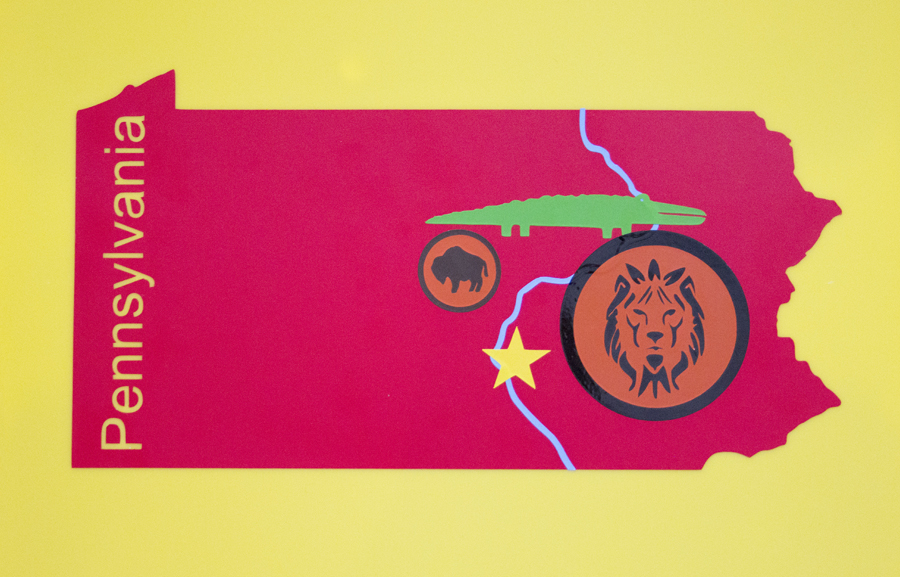
below is the final product. i am very pleased with how it turned out. i think the boys will find it entertaining. i will be selling custom vinyl states with 5 custom icons at my etsy store when i am back from vacation. you can find my store here. https://www.etsy.com/shop/froglegstudios
my next collaborative blog post with expressions vinyl will be about heat transfer vinyl, working with and layering it to create mike wazowski and sully shirts for out trip to disney. after that i will be designing another tray for the disney trip and i will discuss how to "save" our PA tray design.
thanks for stopping by and please let me know if i can answer any questions!

i also wanted to briefly share some other things i found or made to help entertain the boys. all of this has made me laugh a bit, remember when you just sat in the car on a road trip? maybe when you got a little old you might have had a walkman… i found so many great things on pinterest, i may have gotten carried away.
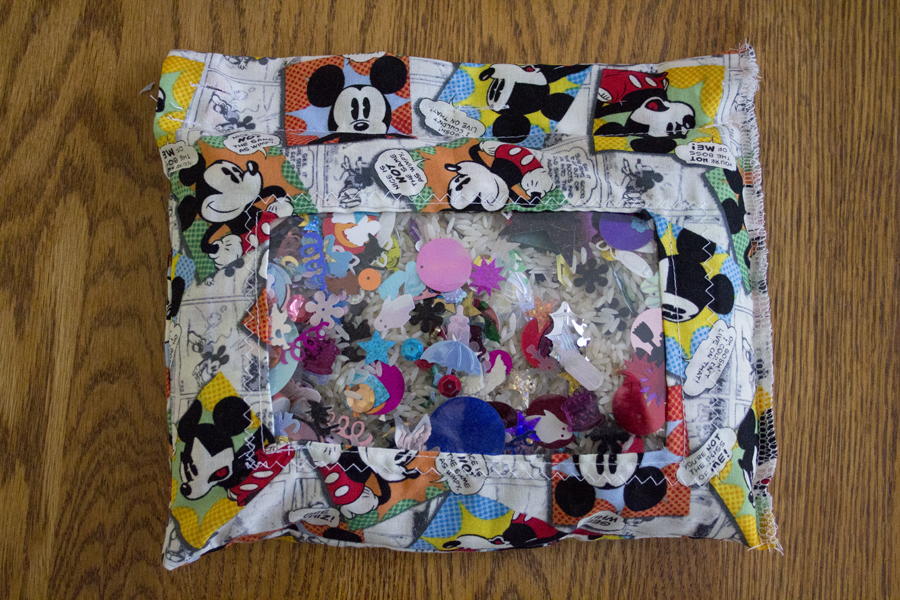
i found many great activities on this blog http://mamapapabubba.com/2014/05/22/portable-activity-kit-for-little-travellers/ i made many of them and they will be great especially for my littlest dude. i also got some great things from teacherpayteachers. i really liked the i spy bag but i then saw a sewn version and i made one.

lastly, i saw this travel lego box on pinterest and i knew my boys would love it for sure, so i recruited my hubby to make them. he used gorilla glue to hold the fence up. i think they turned out great!

happy trails my friends.